

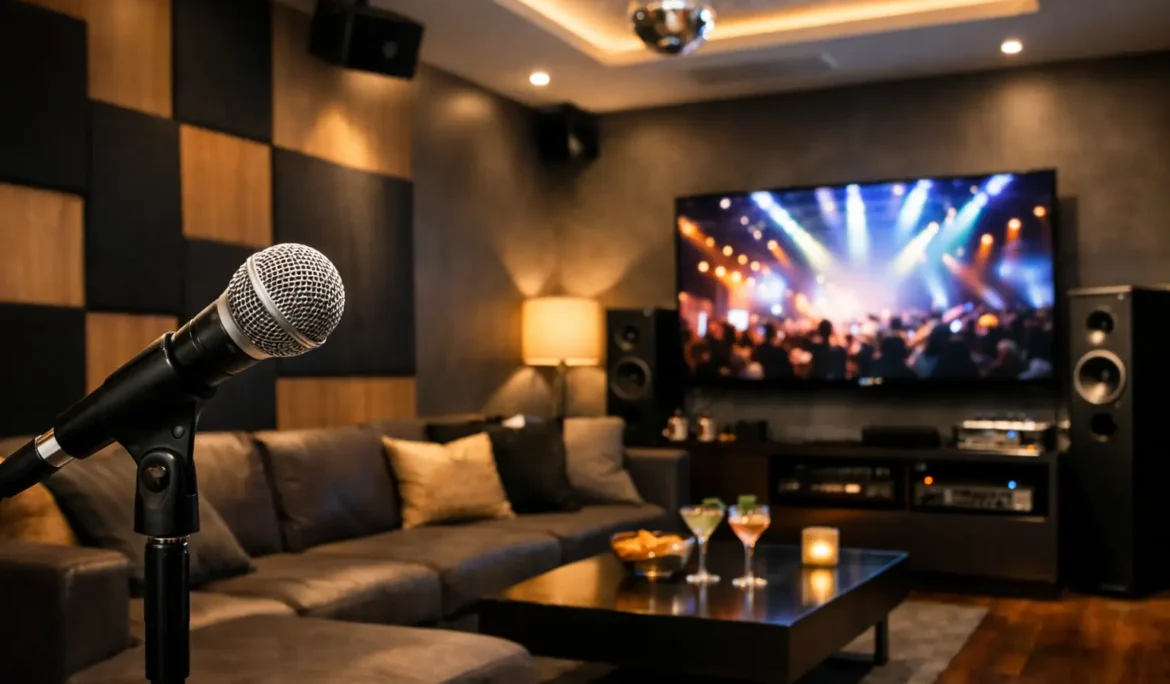
A great karaoke room is not simply a television, a microphone, and a playlist. It is a space where people feel comfortable picking up the mic, can hear themselves clearly, and do not need a tutorial before the first song begins. If you are asking how to design a karaoke room, start with the experience you want to create: an energetic destination for parties, a relaxed family retreat, or a polished extension of a home theater or entertainment area.
The best rooms make professional-grade technology feel effortless. That requires thoughtful decisions about sound, sightlines, lighting, room acoustics, and controls before equipment is selected or walls are closed.
Start With the Room, Not the Equipment
A karaoke system can work in a dedicated room, a finished basement, a bonus room, or a multipurpose media space. The right choice depends on how often you plan to use it and how much flexibility the household needs. A dedicated room offers the greatest control over sound and atmosphere, while a shared space may need technology that disappears when karaoke night is over.
Consider the room’s shape, ceiling height, doors, windows, and relationship to bedrooms or neighboring spaces. A room with hard flooring, bare walls, and a low ceiling can become overly bright and echo-heavy when several people are singing. Conversely, a heavily furnished room may absorb too much high-frequency energy and make the performance feel dull.
It is also worth planning where guests will enter, set down drinks, select songs, and wait for their turn. Karaoke is social by nature. A cramped layout can make even excellent equipment feel less inviting.
How to Design a Karaoke Room Around Clear Sound
Sound quality is the heart of the room, but louder is not automatically better. The goal is balanced, intelligible sound that lets singers hear their voices over the music without harshness, feedback, or uneven volume from seat to seat.
Speaker placement should be considered early. Front speakers can anchor music and on-screen lyrics, while additional speakers may help create fuller coverage in a larger room. Positioning matters more than simply adding more speakers. Speakers aimed directly at microphones can increase the likelihood of feedback, and poorly placed subwoofers can make bass feel powerful in one chair but weak across the room.
Microphone selection is equally important. Wireless microphones keep the room flexible and allow performers to move naturally, but they should be chosen and installed with dependable signal management in mind. A professionally designed system can provide appropriate microphone channels, clean charging solutions, and settings that keep vocal levels consistent from singer to singer.
Treat Acoustics as Part of the Design
Acoustic treatment is often the difference between a room that feels exciting and one that feels exhausting after two songs. It does not have to make the room look like a recording studio. Fabric wall panels, decorative acoustic elements, area rugs, upholstered seating, and window treatments can reduce unwanted reflections while supporting the room’s interior design.
The specific approach depends on the room. A basement karaoke space may need help controlling bass and reflections, while a room with extensive glass may benefit from treatments that soften high-frequency reflections. The objective is not to eliminate all liveliness. It is to preserve energy and clarity without creating distracting echo.
Sound isolation deserves attention, too. If the room is near bedrooms, a home office, or adjacent living areas, plan for noise control during construction or renovation. Door seals, insulation, wall construction, and thoughtful equipment placement can all reduce sound transfer. This is one decision that is much easier to address before finishes are complete.
Create a Screen Setup Everyone Can Read
Lyrics need to be visible from both the performance area and the seating area. A properly sized TV or projection display should be selected based on viewing distance, ambient light, and how the room will be used beyond karaoke. In a multipurpose room, a high-quality television may be the most practical choice. In a dedicated entertainment space with controlled lighting, a larger projection experience can make performances feel more theatrical.
Avoid mounting the display too high. Singers should not have to tilt their heads upward to follow lyrics, and guests should not lose visibility when someone stands at the microphone. If the room has multiple seating zones, sightlines should be verified from every meaningful seat before final installation.
A second confidence monitor can be useful in larger rooms or layouts where the performer faces away from the main display. It is not necessary for every project, but it can make a karaoke room feel far more natural for the singer.
Use Lighting to Set the Mood Without Complicating the Room
Lighting changes the entire personality of a karaoke room. Bright, even lighting is useful when guests arrive, choose songs, or move through the space. Once the performance begins, layered lighting can create a more immersive atmosphere without making lyrics difficult to read.
Start with functional lighting, then add accent lighting where it has a purpose. Recessed fixtures can provide general illumination, while wall sconces, LED cove lighting, backlit panels, or illuminated shelving can give the room dimension. Dimmable lighting is essential because karaoke rarely needs one fixed brightness level.
Color-changing lighting can be a fun addition, especially for family gatherings and celebrations, but it should support the room rather than become the entire experience. Overly aggressive effects can distract performers, wash out the screen, and quickly feel dated. A few carefully programmed scenes tend to be more useful: Welcome, Karaoke, Intermission, Movie, and Cleanup.
Motorized shades are also valuable where windows bring in daylight or create screen glare. They help preserve the look of the room while giving homeowners one-touch control over light and privacy.
Make Controls Easy Enough for Every Guest
The room should not depend on one person who knows which remote controls which device. A well-designed karaoke room brings display, audio, microphones, lighting, shades, and source selection into a simple control experience. Someone should be able to walk in, select Karaoke, adjust the volume, and start singing without sorting through inputs or app logins.
A dedicated touchscreen, handheld remote, or integrated smart home control interface can present only the options the household actually needs. The right interface is not the one with the most buttons. It is the one that makes common actions obvious and prevents frustrating mistakes during a party.
Reliability matters here as much as convenience. Strong Wi-Fi and properly managed network connections support streaming, song selection, control, and software updates. A room with excellent speakers but inconsistent connectivity will still disappoint guests at the moment they are ready to sing.
Plan Seating, Storage, and the Performance Zone
Leave a defined open area for performers. It does not need to resemble a formal stage, but it should provide enough room for movement without forcing singers to stand too close to speakers, furniture, or the display. A slightly raised platform can create a fun visual focal point, though it is best used only when ceiling height, room proportions, and safety support it.
Seating should accommodate both active performers and spectators. Comfortable lounge seating works well for a relaxed setting, while bar-height seating can suit a more energetic entertainment space. Keep pathways open, particularly between seating, the microphone area, and exits.
Storage is a small detail with a major impact. Plan a discreet home for microphones, chargers, remotes, extra batteries, and accessories. When equipment has a dedicated place, the room stays polished and is ready to use more often.
Design for More Than Karaoke Night
A thoughtfully designed karaoke room can serve the household long after the last encore. The same display, audio system, lighting scenes, and comfortable seating can support movies, sports, gaming, casual music listening, and family gatherings. This multipurpose value is especially helpful when the room is part of a larger basement renovation or media room plan.
The key is to decide which use comes first. If karaoke is the primary purpose, prioritize vocal clarity, microphone performance, and an open singing area. If the room will function mainly as a theater or lounge with occasional karaoke, prioritize the everyday layout and build karaoke capability into the system without letting it dominate the design.
A successful karaoke room feels welcoming before anyone sings and effortless once they do. With the right planning, the technology stays in the background while the memories take center stage.